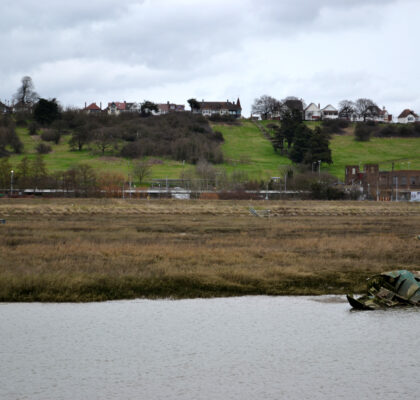
Basic Photo Enhancing
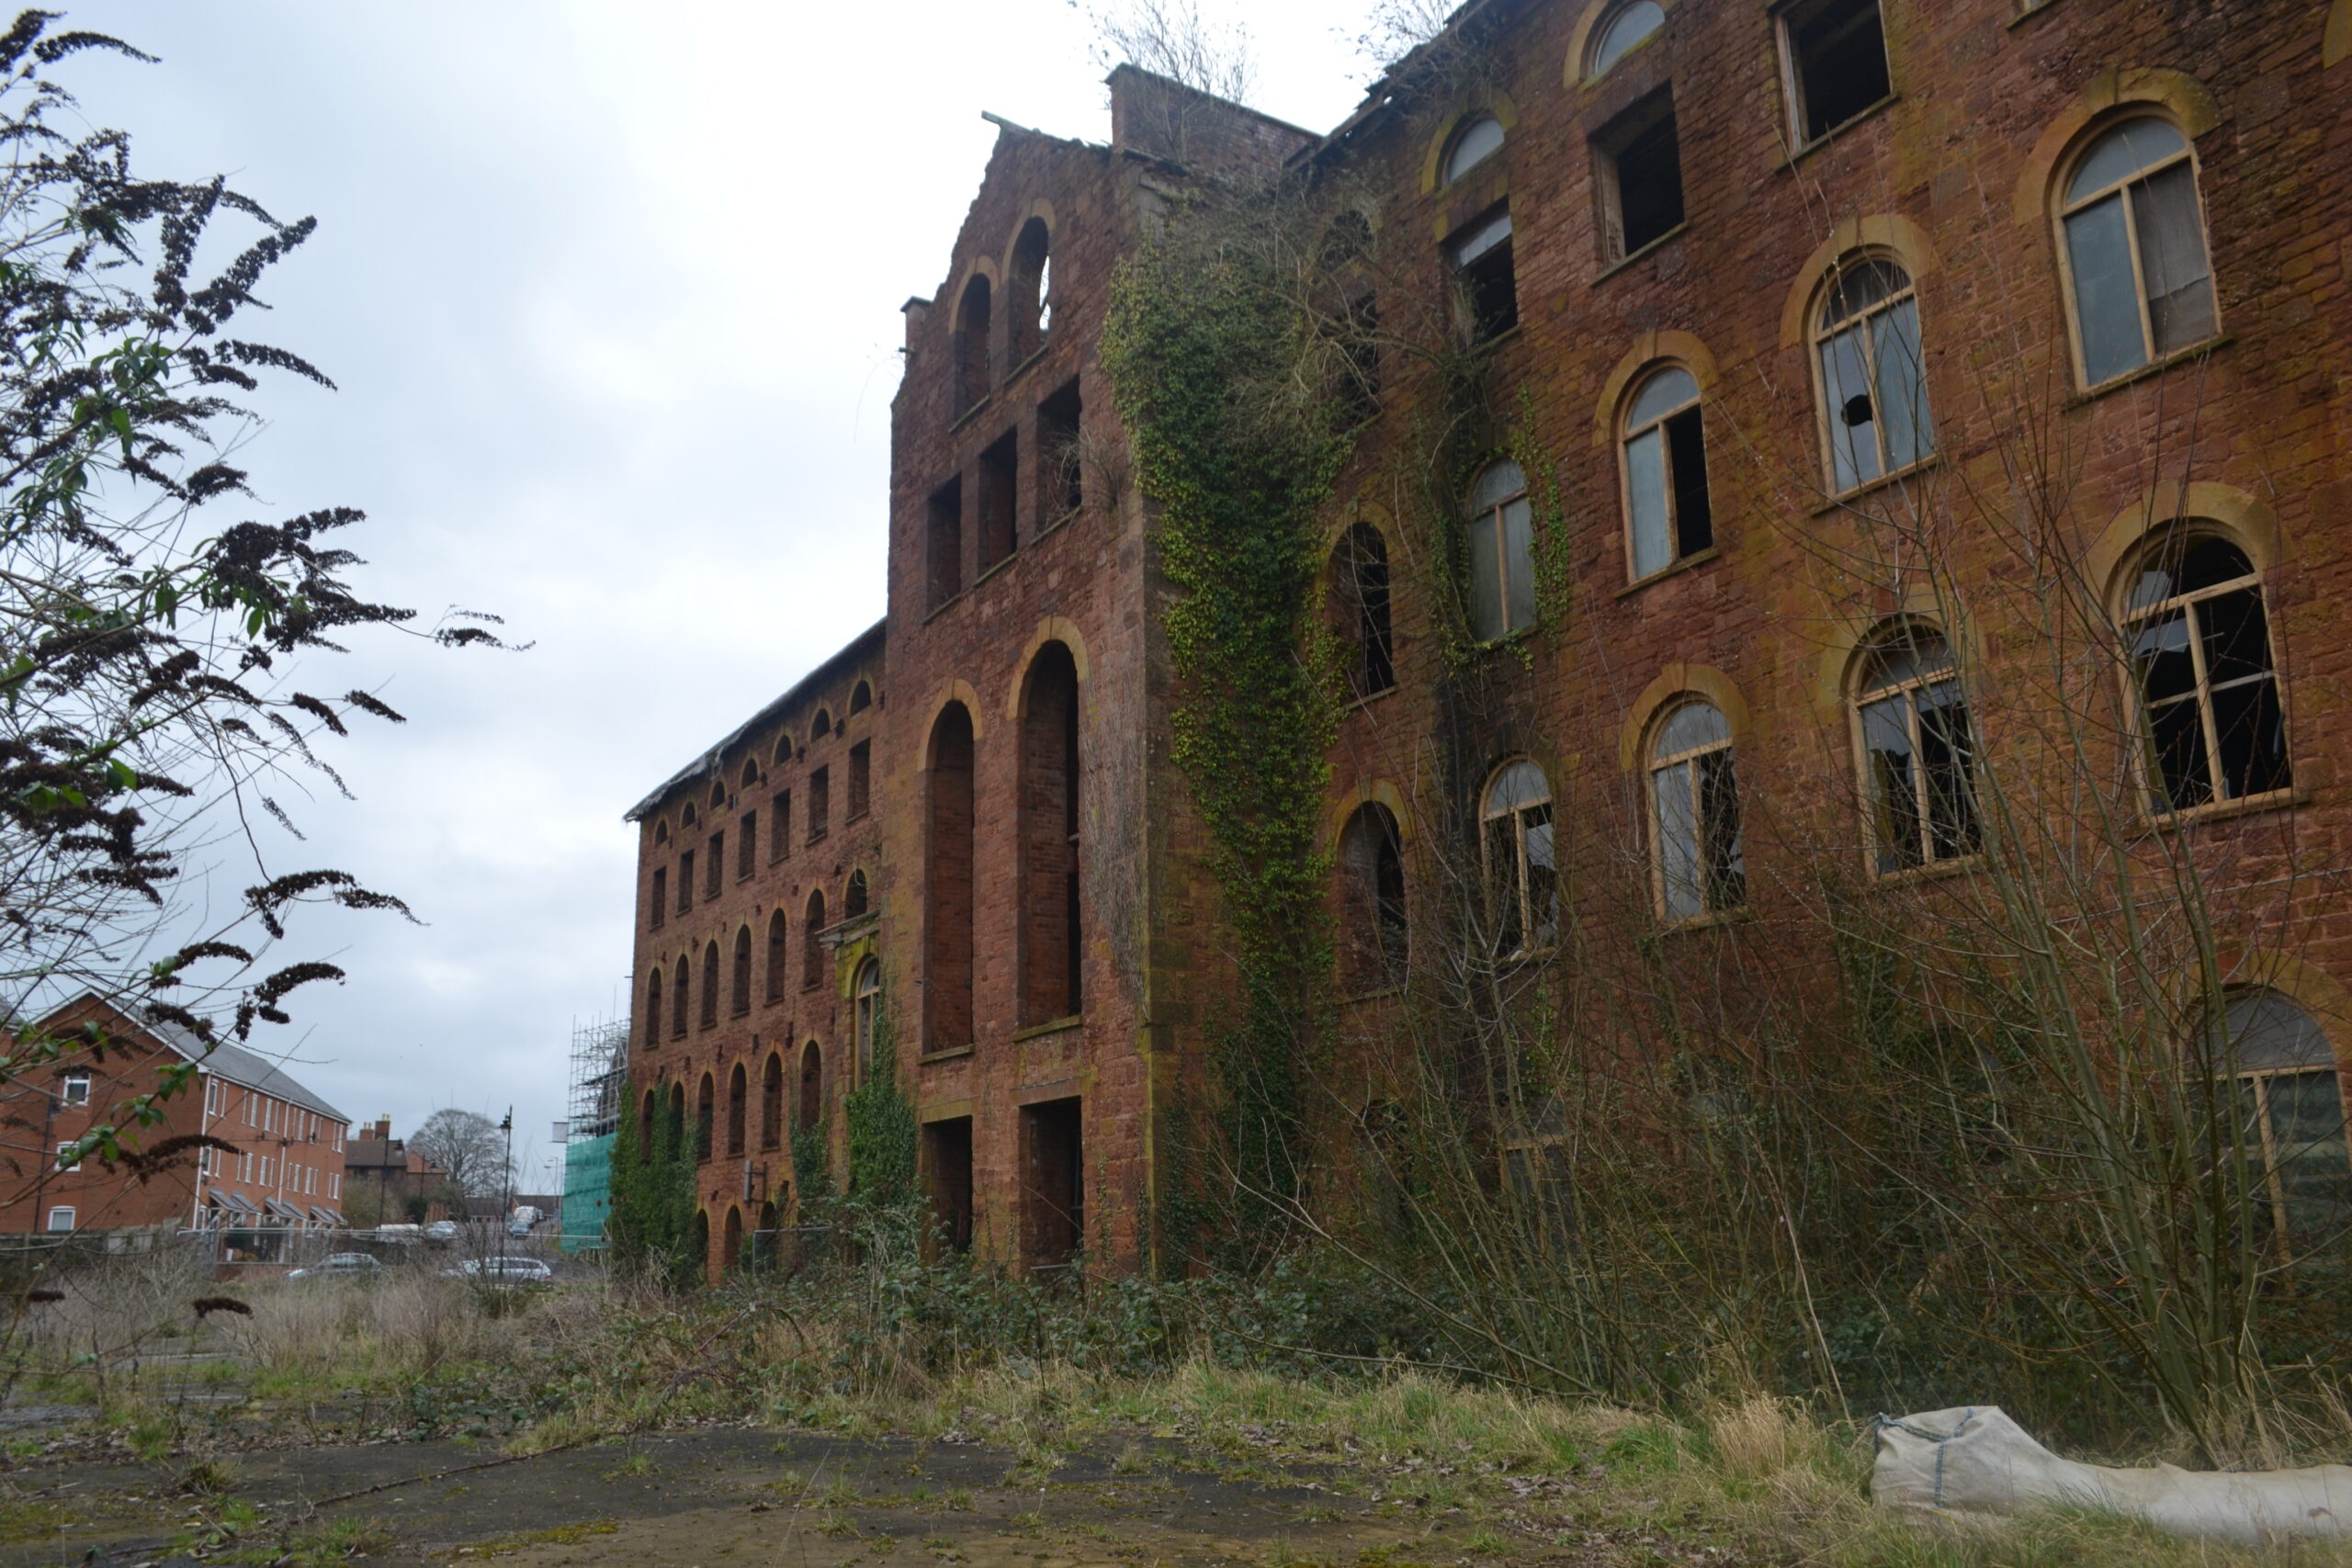
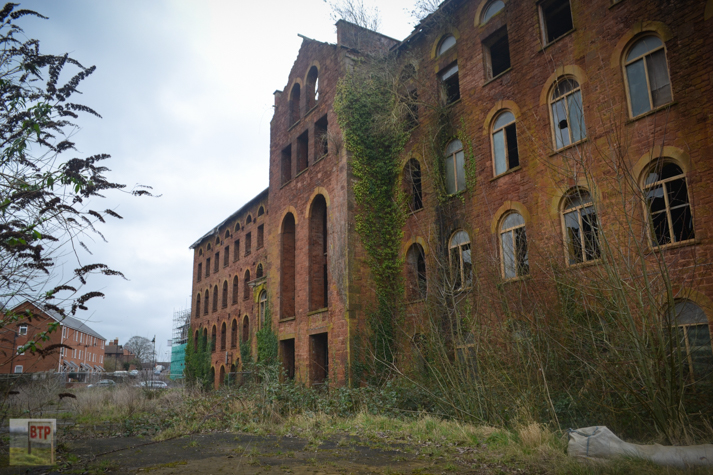
‘Editing photographs’. A phrase which to many come to mind as a cheat, or a way of capturing something far more dramatic than what is really there. Yes, this is sometimes the case, as with HDR seen below for example, but heavy editing can be a great way to evoke a certain mood in your photographs which after all are your own artwork.
With this aside, you must not forget that editing photographs with a ‘less is more’ mindset is often an important step in making your images appear closer to what you actually saw with your eye in full definition, than what the camera could capture. Simple tweaks of the exposure, contrast, saturation, and even warmth, can help bring your photographs to life. The camera can often make blacks and whites appear grey, dull out colours, or make them look cold and bleak. Simple editing can put this right.
All the photographs we take on BTP now are edited at least very gently, just to bring out the colours in our photographs or to make them a little more punchy. A rule of thumb for standard outdoor shots is to tweak the photographs so there is a little ‘true black and white’ in them. This makes them look great on the eye and more realistic. Of course, it may not suit all environments, but a photograph taken in common daylight will benefit from this. You can do this in Adobe Photoshop, or for simple adjustment in Windows Live Photo Gallery. Try using the ‘histogram’ to adjust exposure, setting the left and right sliders to just touch either edge of the graph pattern, as this allows some pure black and white in the image.
Tonemapping & HDR – High Dynamic Range
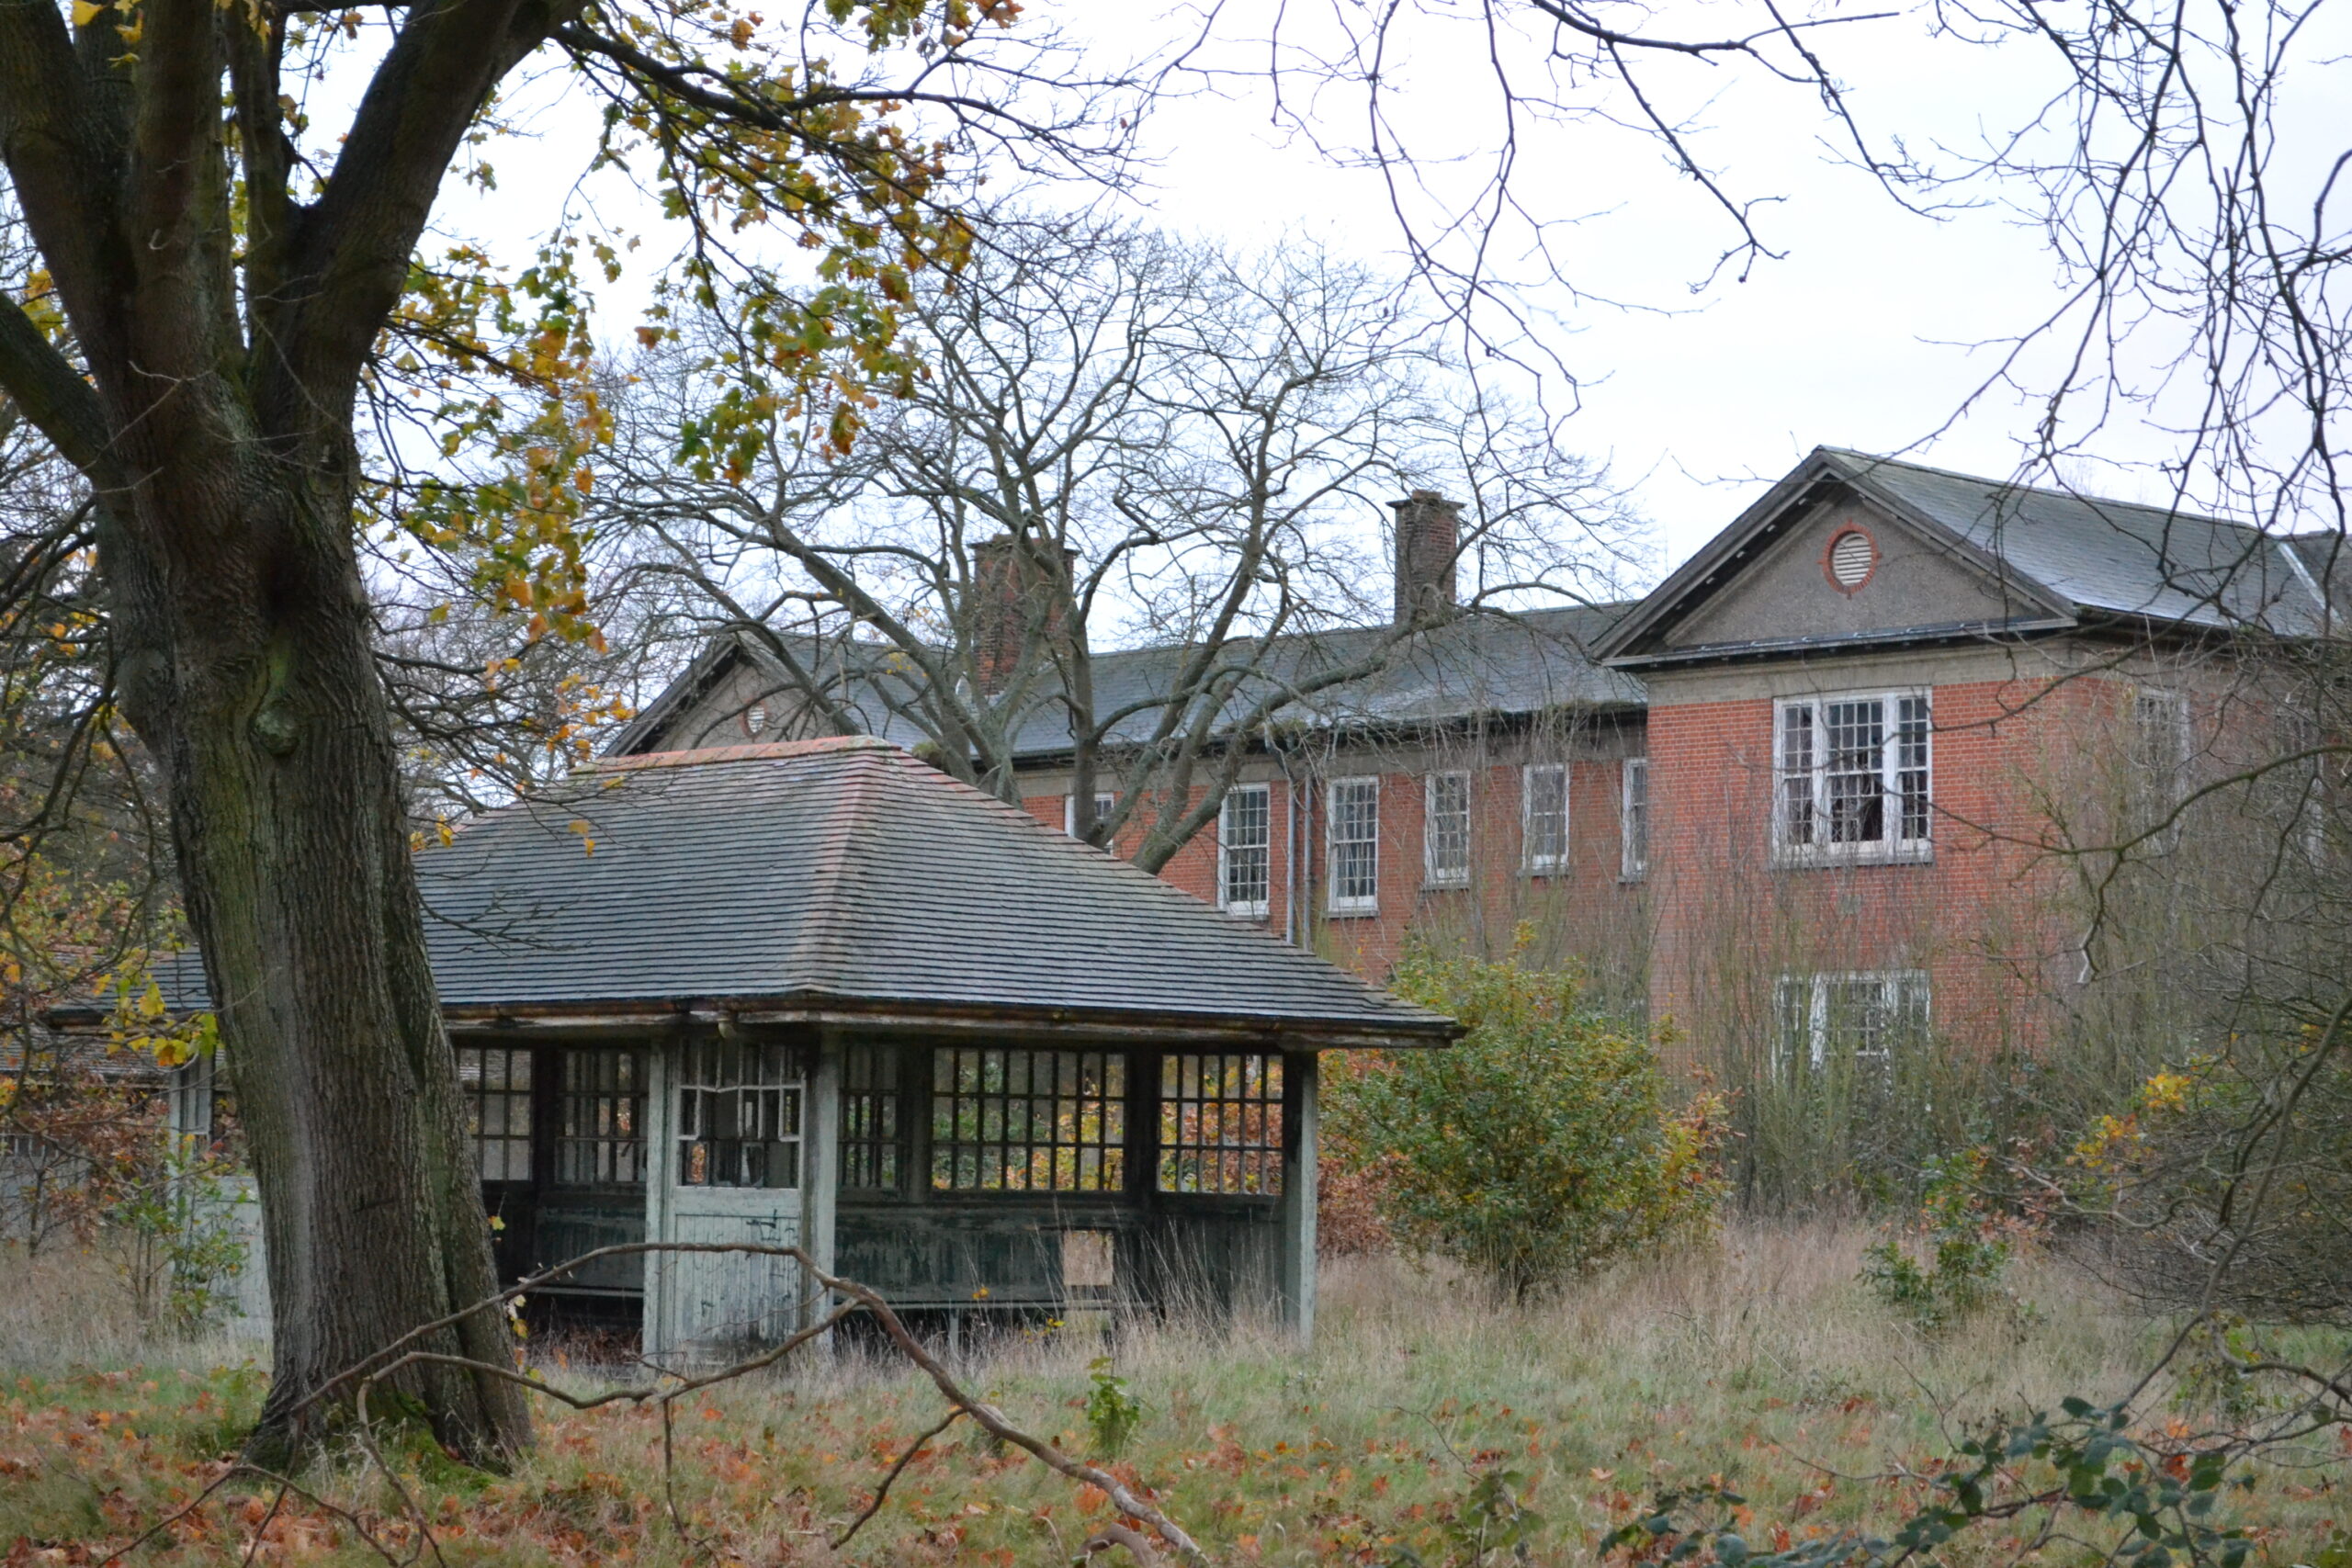
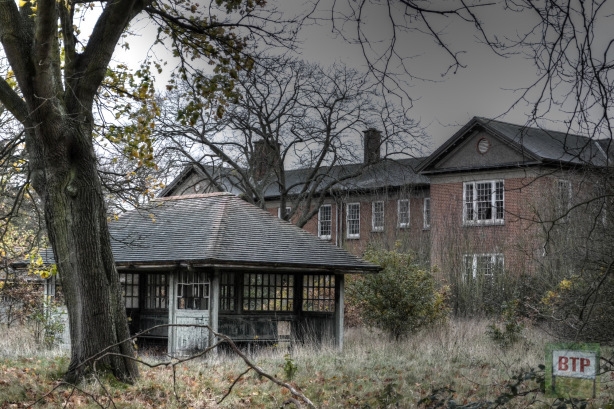
HDR is a photographic technique applied to images after they have been taken. The basic concept behind it, tone mapping, is that all areas of the photograph are lit equally. Unlike the human eye, a camera lense cannot correctly light the foreground without making the sky bleached and lacking detail. Vice-versa, if the detail of the sky and clouds is fully captured in a photograph, the foreground will appear too dark and not very much more than a silhouette. This is why it is not a good idea to take photographs with the subject facing away from the sun.
Using digital programs such as Adobe Photoshop, or the quick tool we sometimes use called ‘Photomatix Essentials’, you can edit the photo so that both the darker and lighter sections of the photograph have their full detail restored. Hence why you often see the skies looking very dramatic in HDR images. Search Google for tutorials on how to do this effect as there are numerous ways already written about extensively.
In the tutorial below, Liam attempts HDR photography by using photo bracketing – a technique that involves taking the same photo in different exposures, both light and dark, and combining them using software to give a wider range of tones. This gives more detail in the light and dark areas, rather than just washed out bright spots such as the sky or outside windows, or heavy shadows which might appear as black voids. The effect can be exaggerated to provide tone mapped extreme HDR, although this is often seen as overcooking an image beyond what is natural.
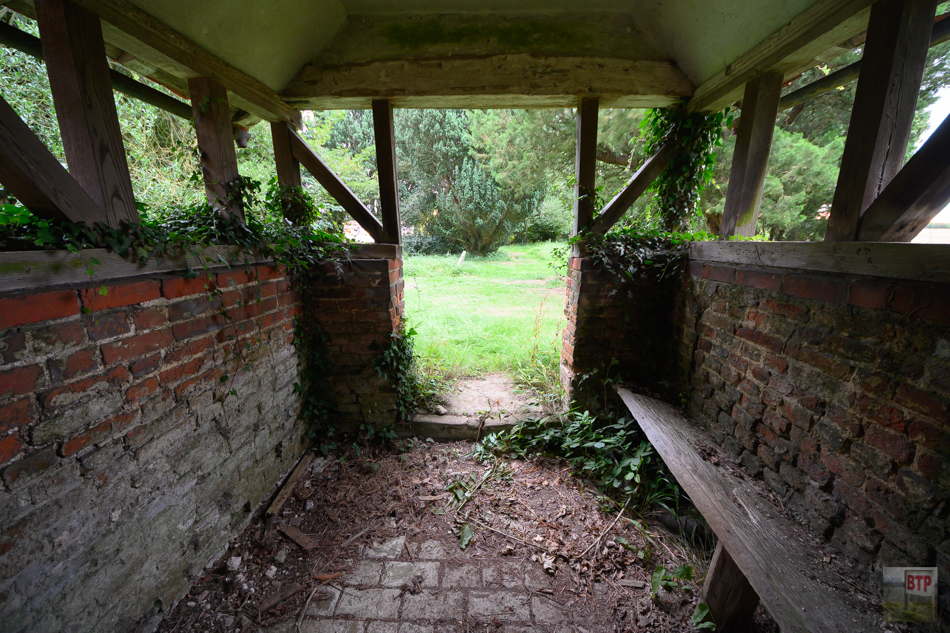
Before 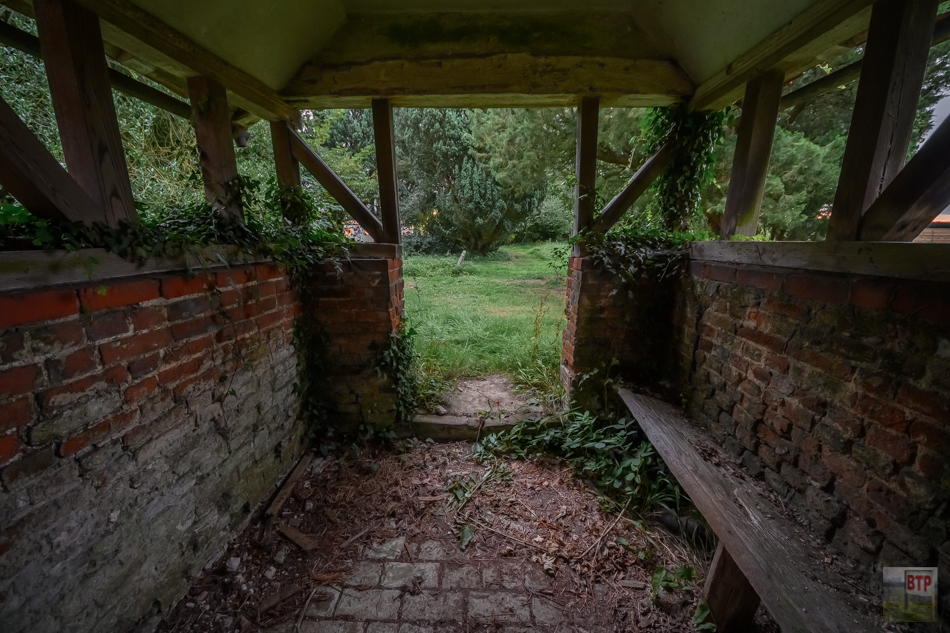
After 
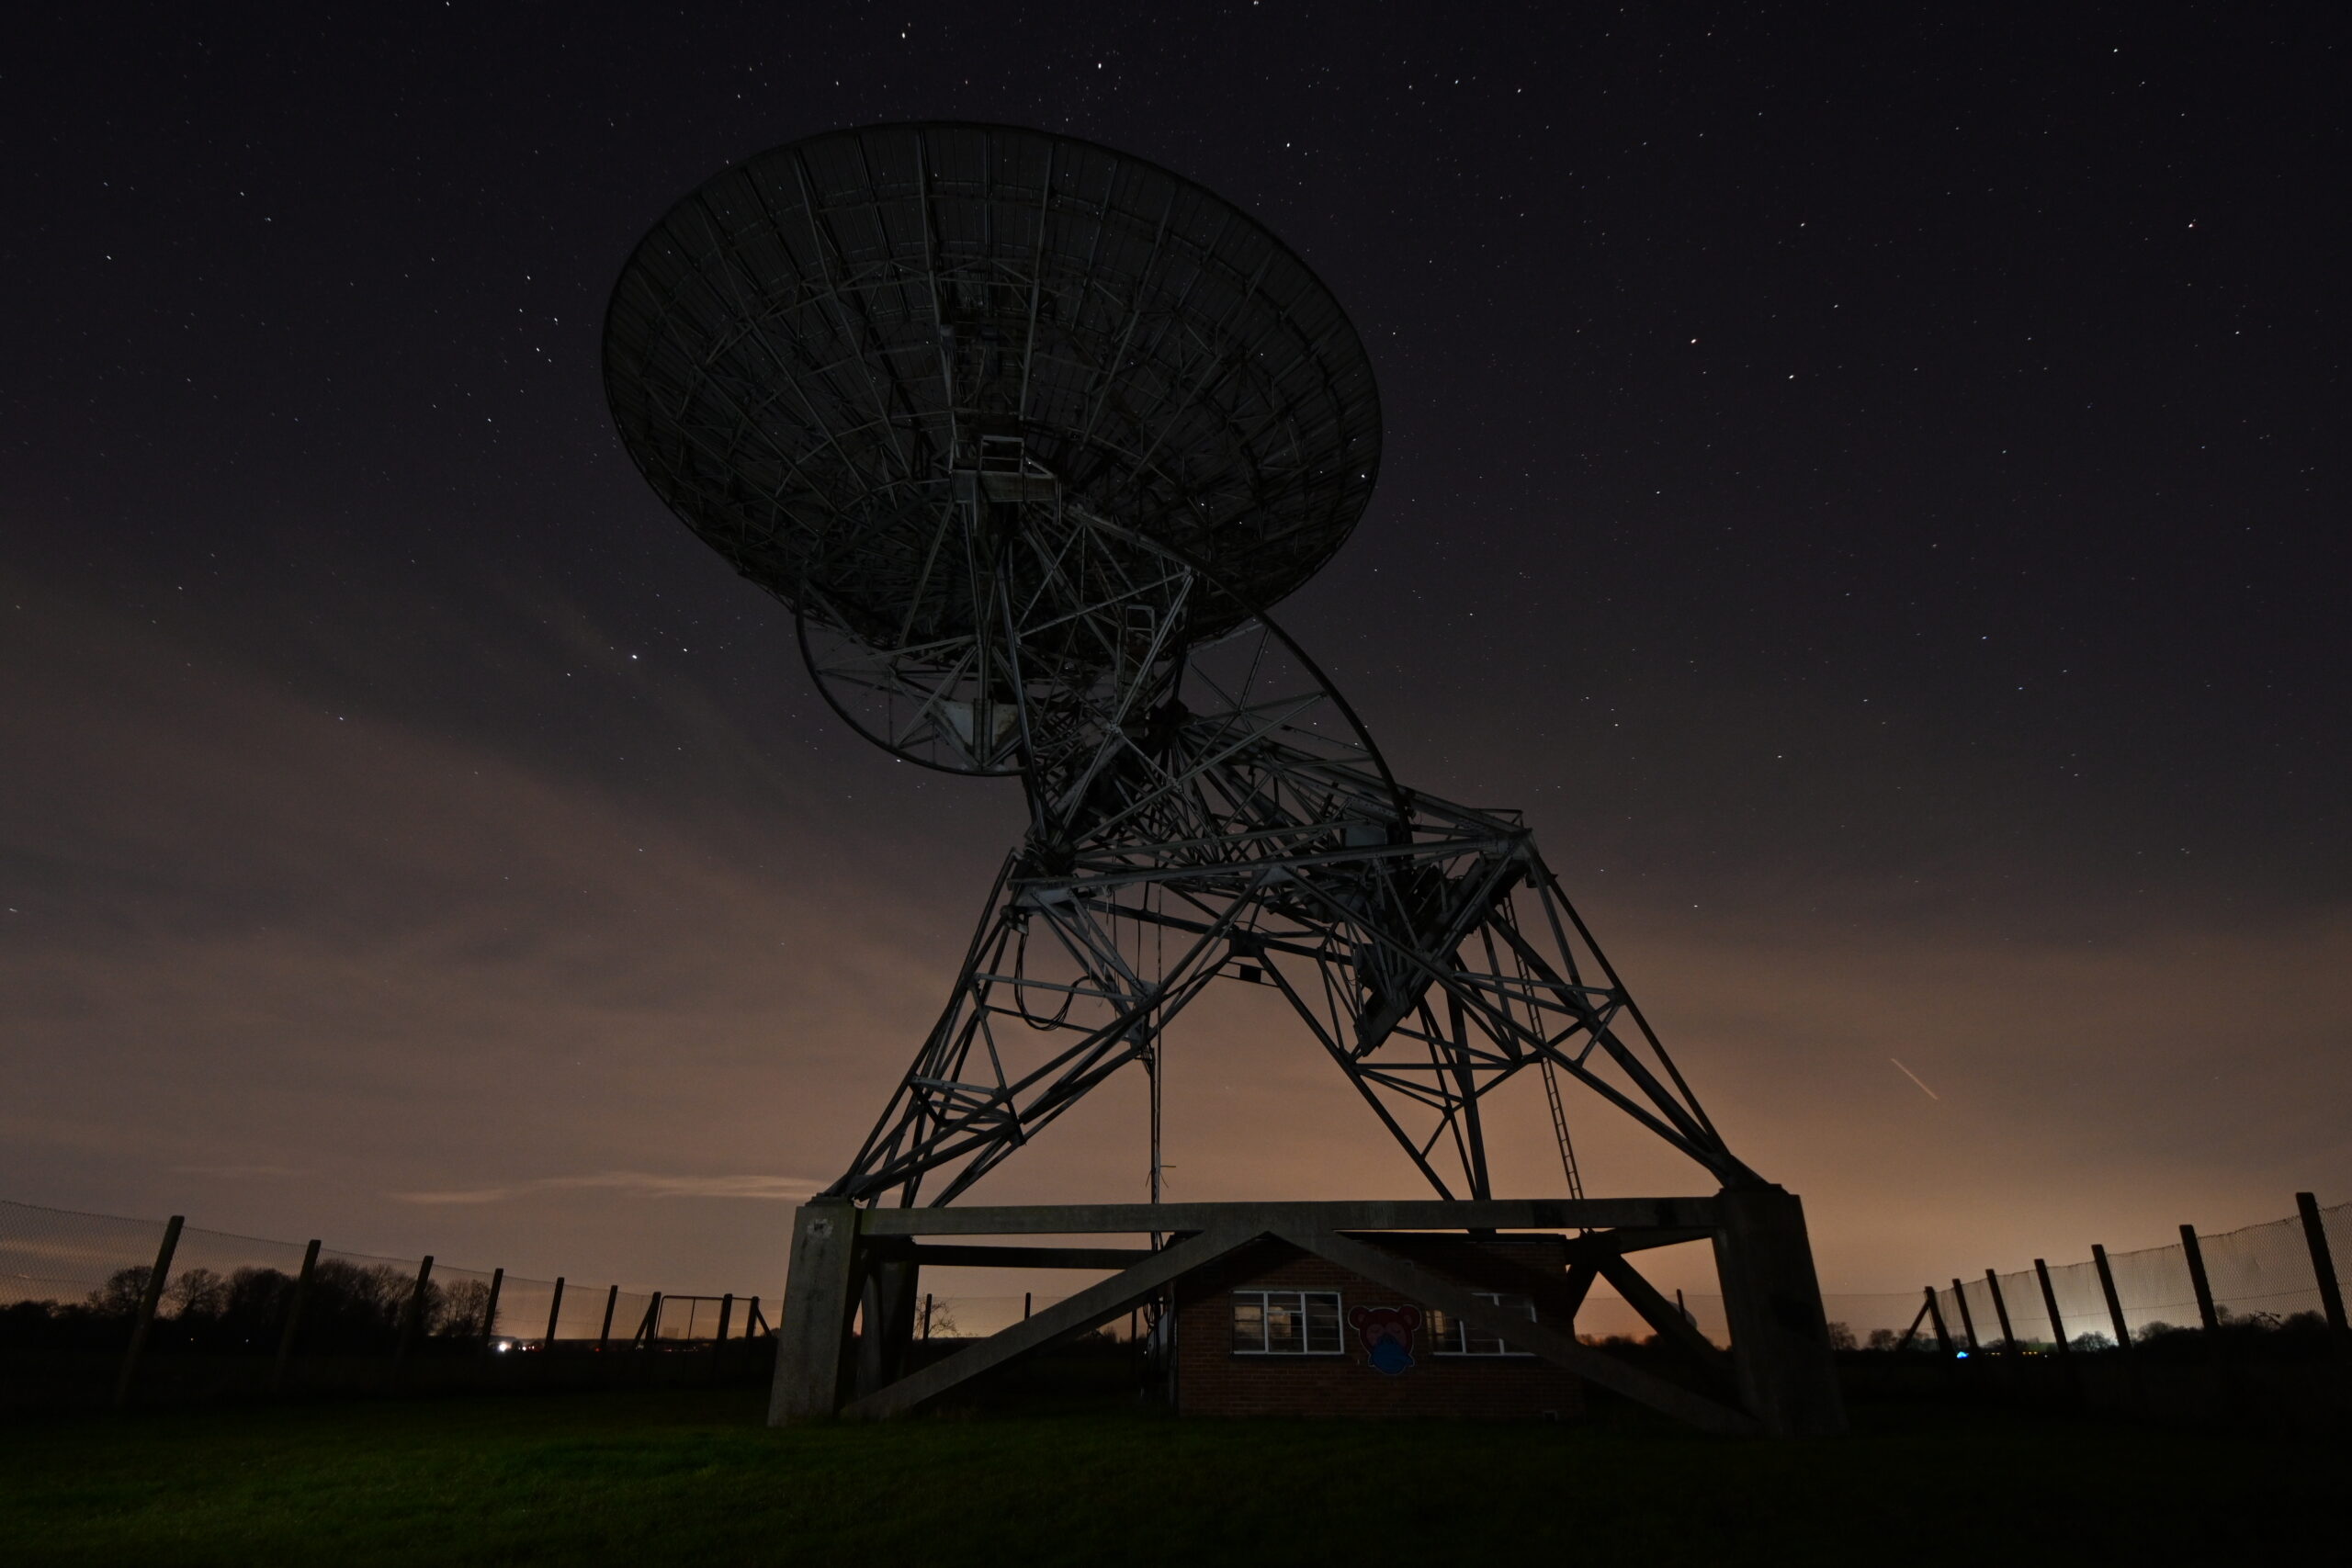
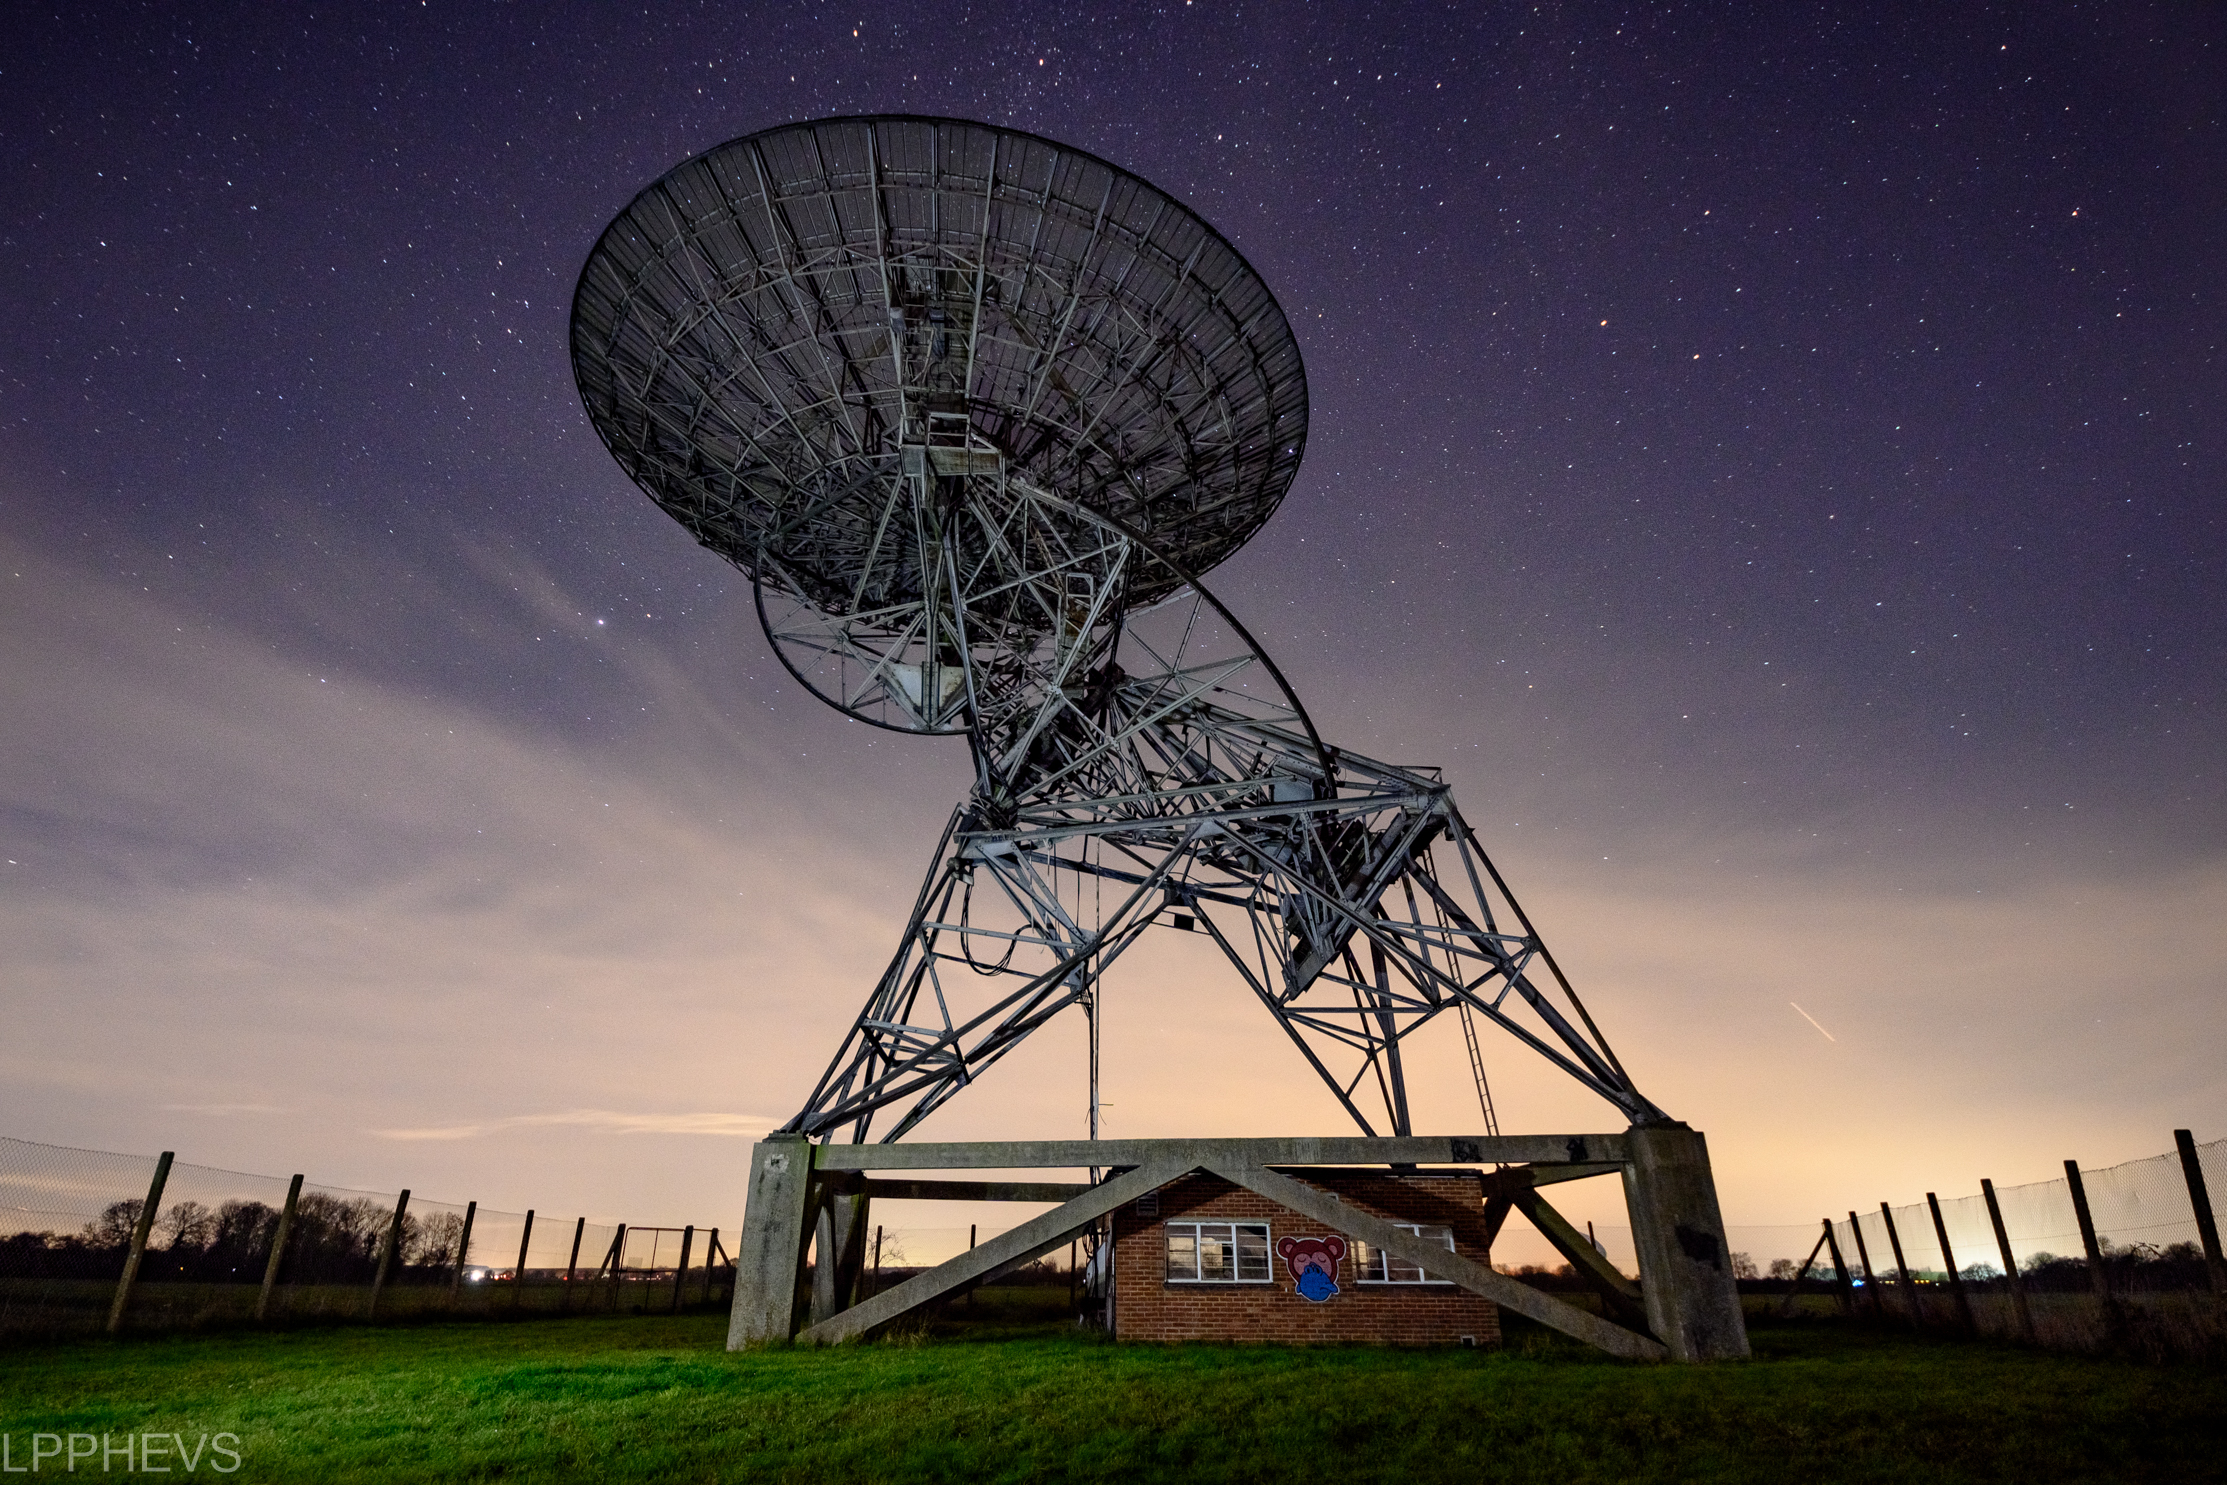
Shooting in RAW for Night Photography
RAW is a file format alternative to JPEG that your digital photos can be produced in by most DSLR and mirrorless cameras. The best way I’ve heard this described is like a raw steak; uncooked, so it needs preparation but allows you to do so however you like. Whereas JPEG comes out the camera well done, and you can’t change it very much in editing afterwards.
I generally find that as the lighting in daytime shots usually doesn’t need much tweaking, it is not worth keeping these RAW files as they take up a massive amount of space. But for night photos or long exposures in dark places, it allows you to boost the lighting up massively without losing quality and hence it is really useful. Shooting photos darker than you want them helps to preserve detail and you can always lighten them later. Here is an example of a before and after RAW edit:
Removing Litter & Distractions
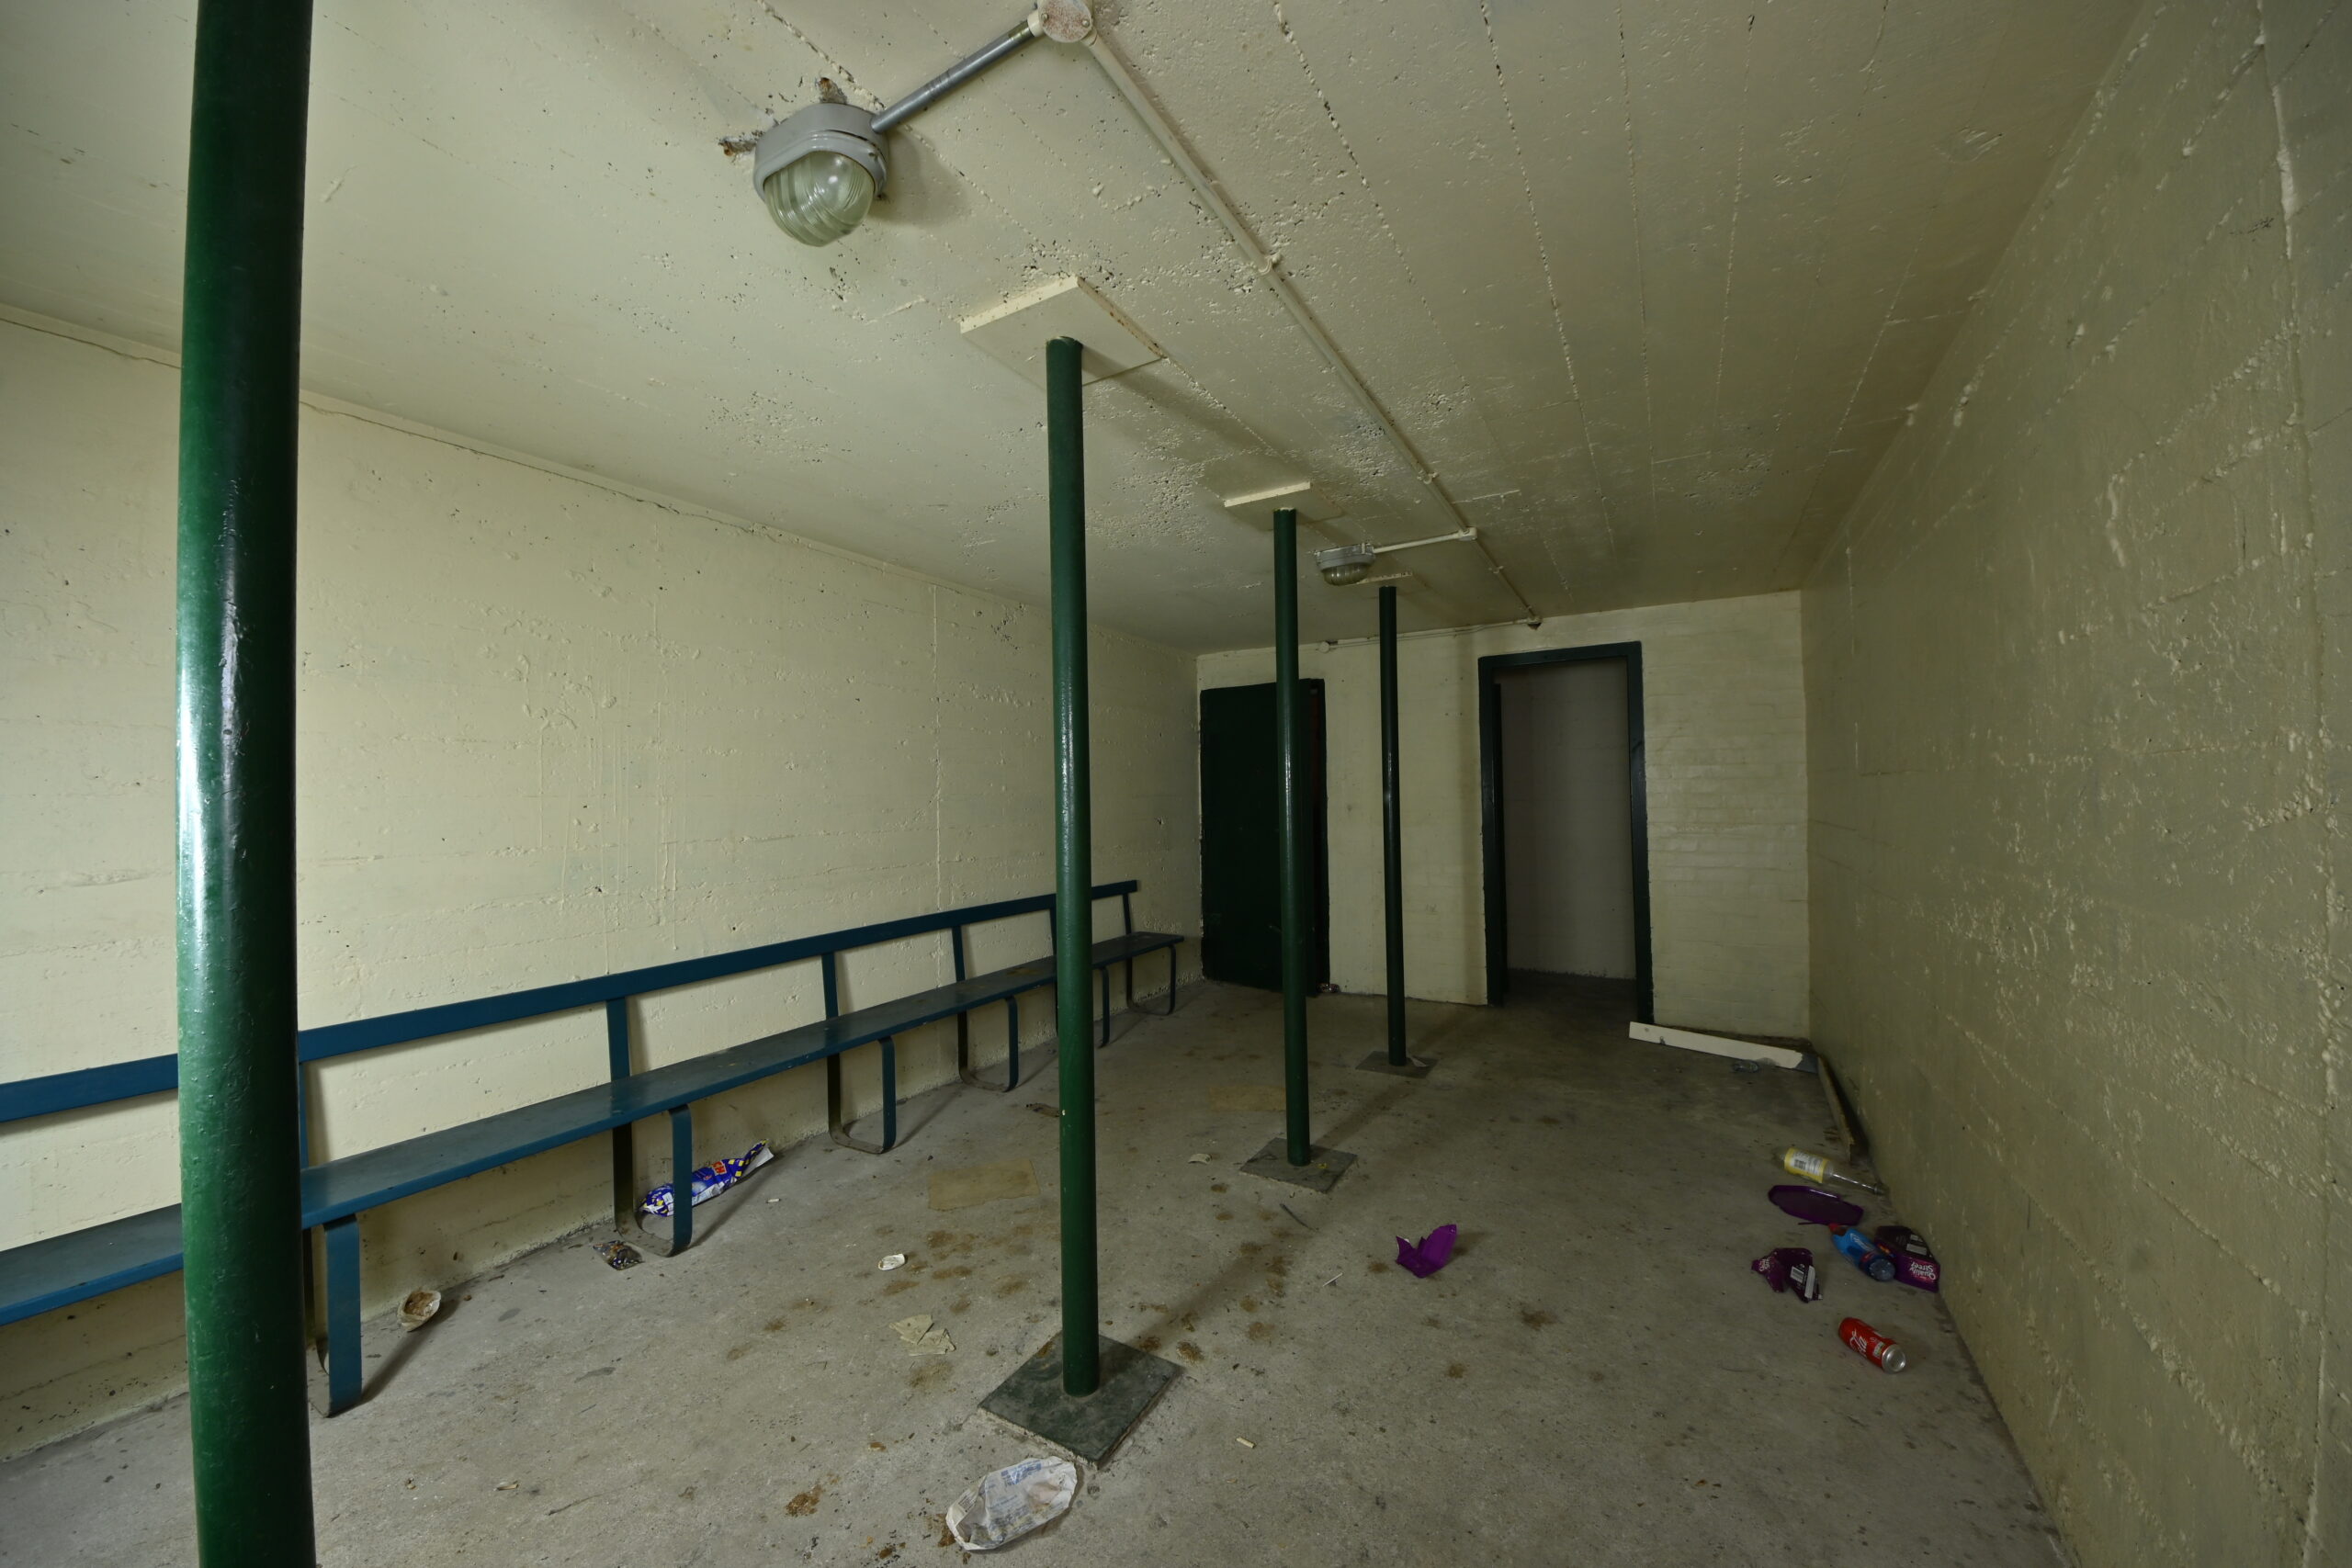
In software such as Adobe Lightroom and Photoshop, powerful spot removal tools allow you to remove distracting objects from your photographs such as litter and pieces of rubbish, or graffiti, all of which are common in abandoned places yet can distract from showing the architecture or interiors authentically. Some people prefer to leave this in to show an unfiltered view of the site’s present condition, but sometimes removing these actually helps to focus on and appreciate the subject itself without altering its actual form.
The below photograph shows a WWII-era air raid shelter within an accommodation block at RAF West Raynham in Norfolk. This stunning shelter was in immaculate condition, still bearing original paintwork and fixtures. However, superficial rubbish cans and food packages on the floor distracts from being able to show how splendid its condition really is, so we wanted to remove these. It was quite time consuming and has left a few distortions if you look closely, but the result is still very pleasing.
Before 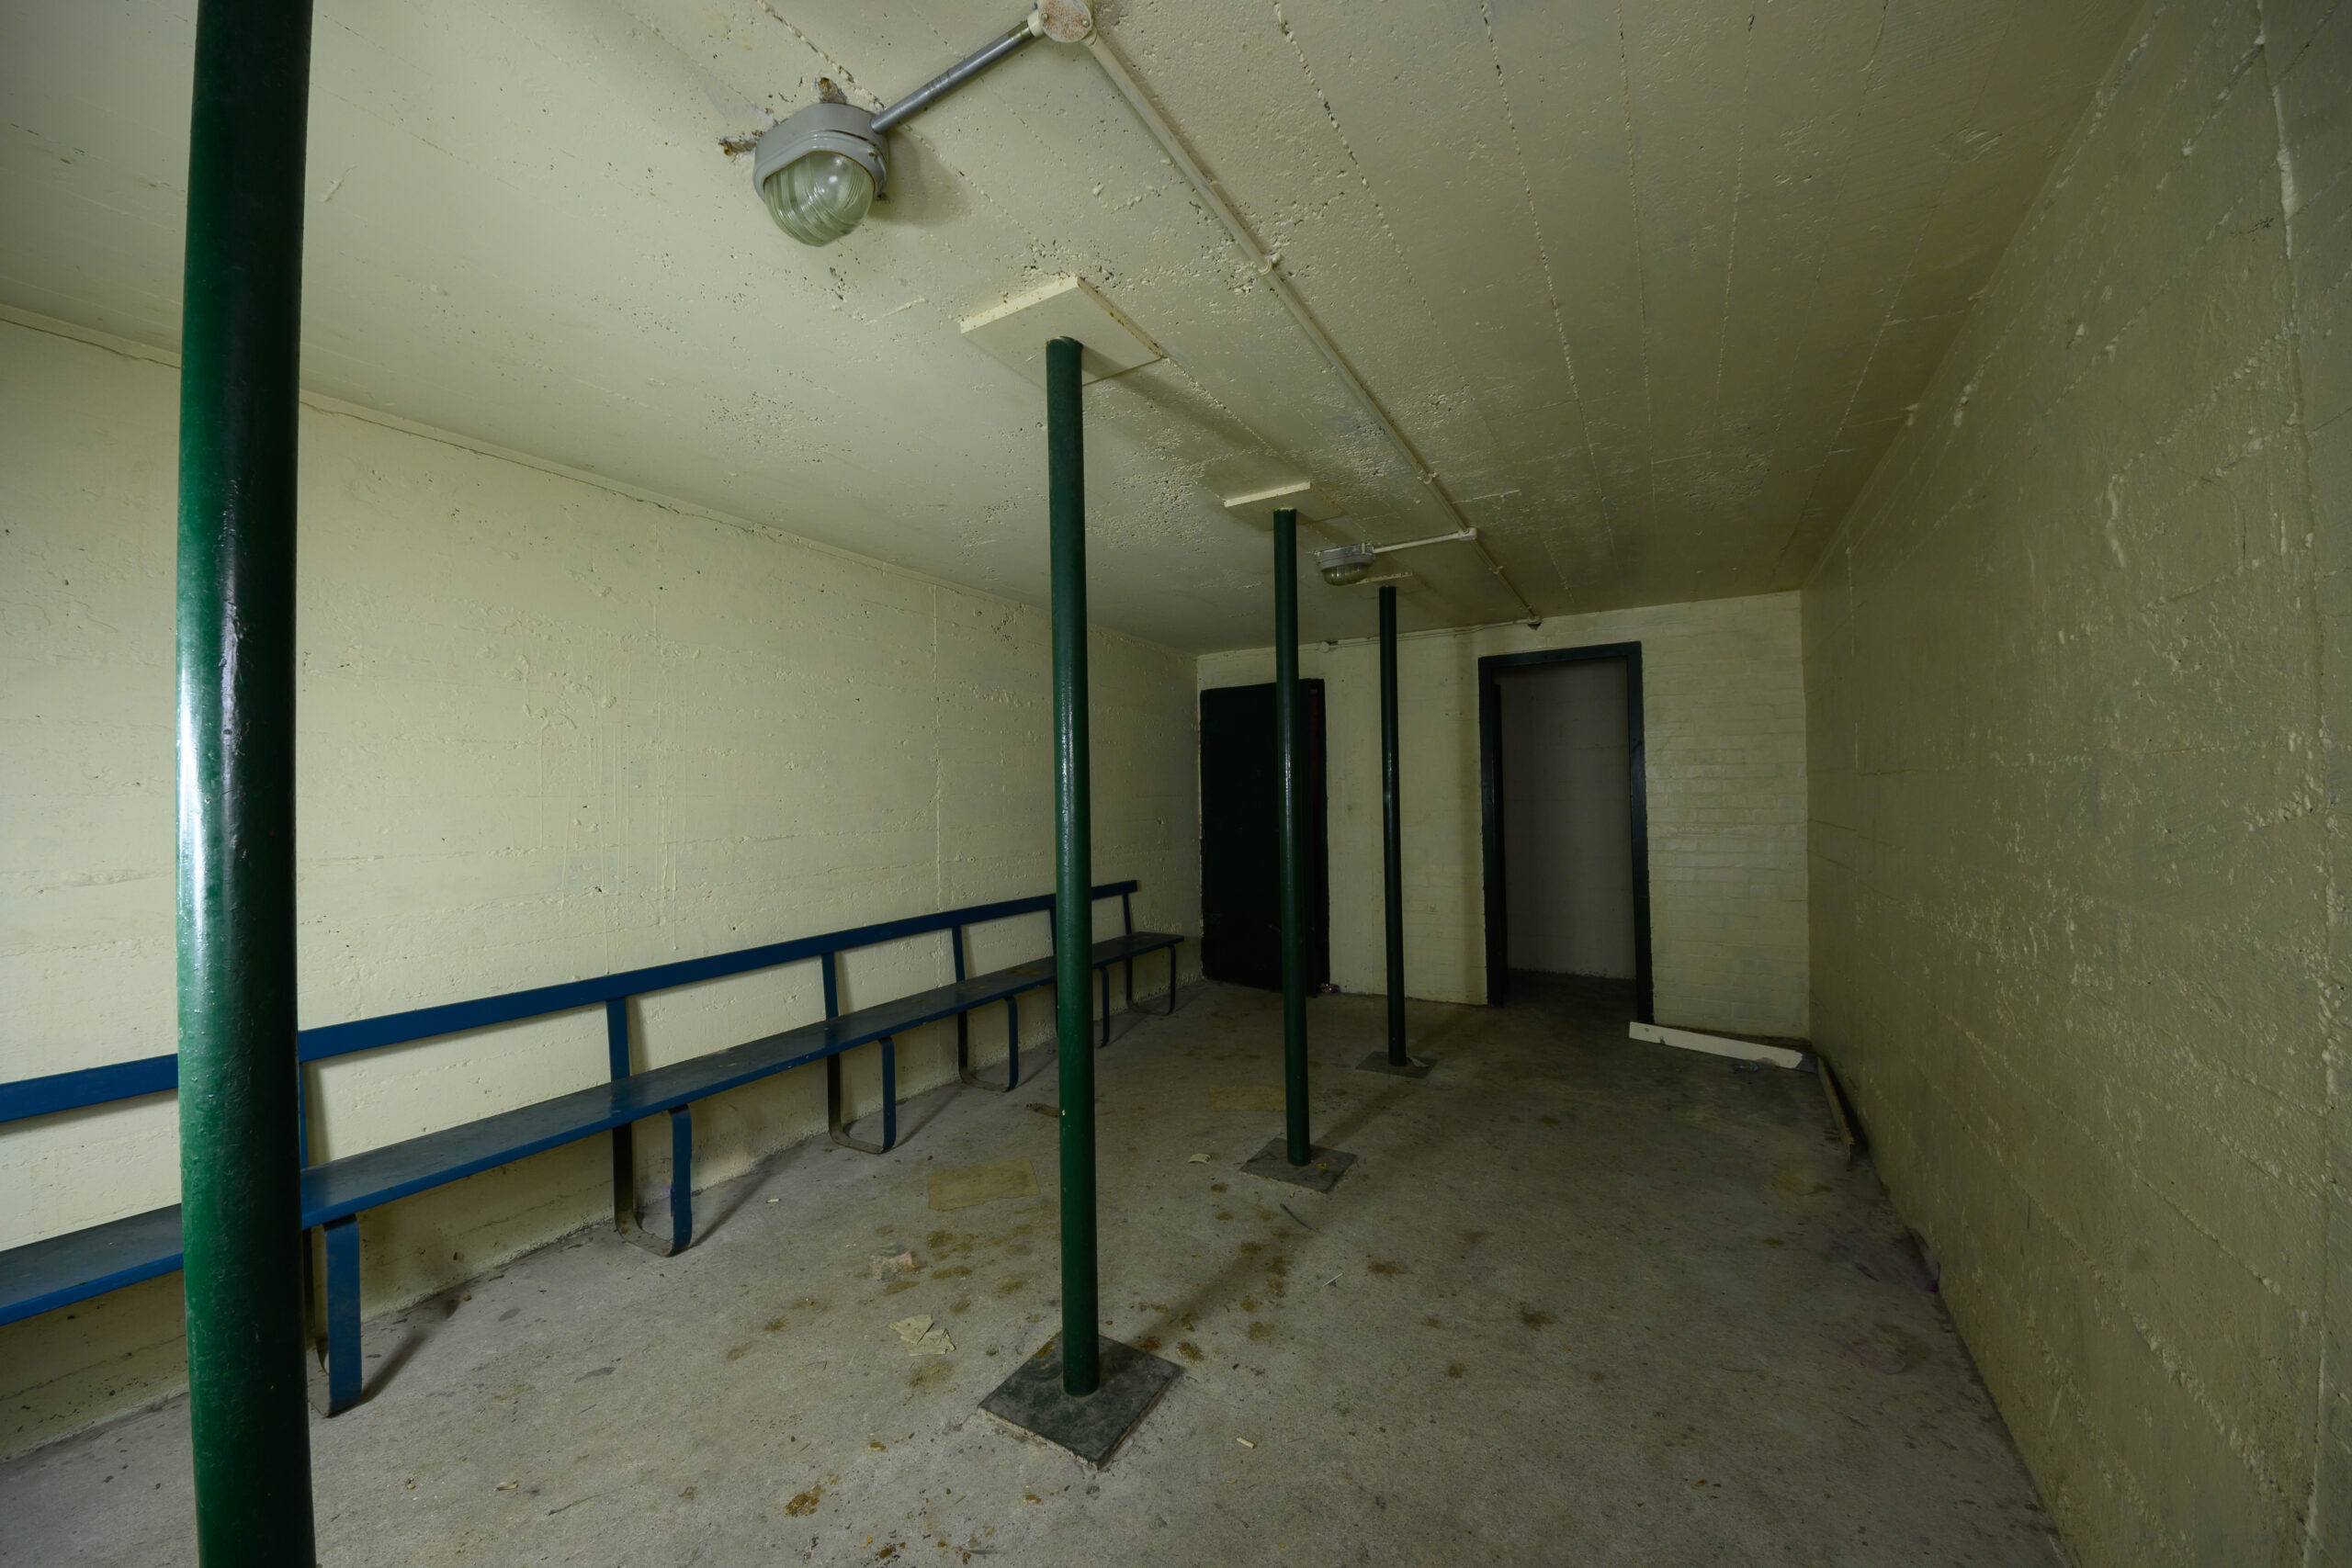
After

